Dear Crafters,
Easter is my favourite time!!

I allow myself certain luxuries!
Ferrero Rochers....
Hot Cross Buns from Brumbies with Nutella in them...
Nutella on white bread....
Drool!!
Now back to crafting *lol*
I have ALWAYS wanted to make myself an egg carton project and this year was the year to do it!
This is a project I made for my design team at Aunty Vera Scrap and Craft
For this project you will need:

*said egg carton (preferably empty)
*crackle medium (which I've had in my cupboard for AGES)
* 2 colors - one light, one dark
I chose colony blue and although the picture here shows gold, I decided against it and went with a flesh tone instead
Step 1: Add the dark color first

Be prepared to spend ages here!
The material that cartons are made of is highly absorbent and it just sucked the paint right up so if you wanted to use up a lot of paint, here is your chance.
There are also many crevices which cover a large surface area so I'm just saying- make sure you have plenty of paint and time.
Step 2: When this has dried, add crackle paint. Allow to dry over night.
Step 3: Add the lighter color

As soon as you apply the color and it starts to dry, you will know if your crackle application was successful.
I love this stage.
After this, you can choose to decorate your egg carton how you like. I chose to add a thin layer of decorated napkin.
Step 4: Add one layer of pleasing tissue paper.

I applied it with Mod Podge.
PVA glue would be too thick.
I love how the crackle shows through the tissue paper pattern.
I then grabbed the leaf ribbon by Santoro which also came in the April kit and wrapped it around the egg carton and I just LOVE how it turned out!
Because it was an egg carton after all, I did use the embellishment from the Echo Park pack that says "Egg".

More embellishments from the pack.
I love how this story unfolds.

I live for these moments.


Happy Egg Hunt :)
Yes!
I know!
Total geek and book nerd!
Thank you :)
Step 5: Preparing the eggs

Don't throw away those other layers of tissue paper, I stamped on them using the Sizzix stamp set from the April Kit!
I coloured them in using my little Tim Holtz Distress Inks.
I picked up some foam easter eggs from the dollar store.

And experimented with painting them.


Not sure that I like them painted with the stamped tissue paper.
They do look better without.

Have a play.
See what YOU like.

Step 6: Decorating the inside of the egg carton
I didn't have paper shredding so I shredded up some of my own with a personal office shredder.
Yes- it did hurt to shred pretty Echo Paper paper. But that spotty paper looks GOOD here!
I rolled them up to fit each spot snugly.
Now for more pretty Echo Park Paper!

Seriously, this paper SCREAMS to be fussy cut!
You must hear it too?
I played around with configuration until I got it right.

Step 7: Decorating the inner lid
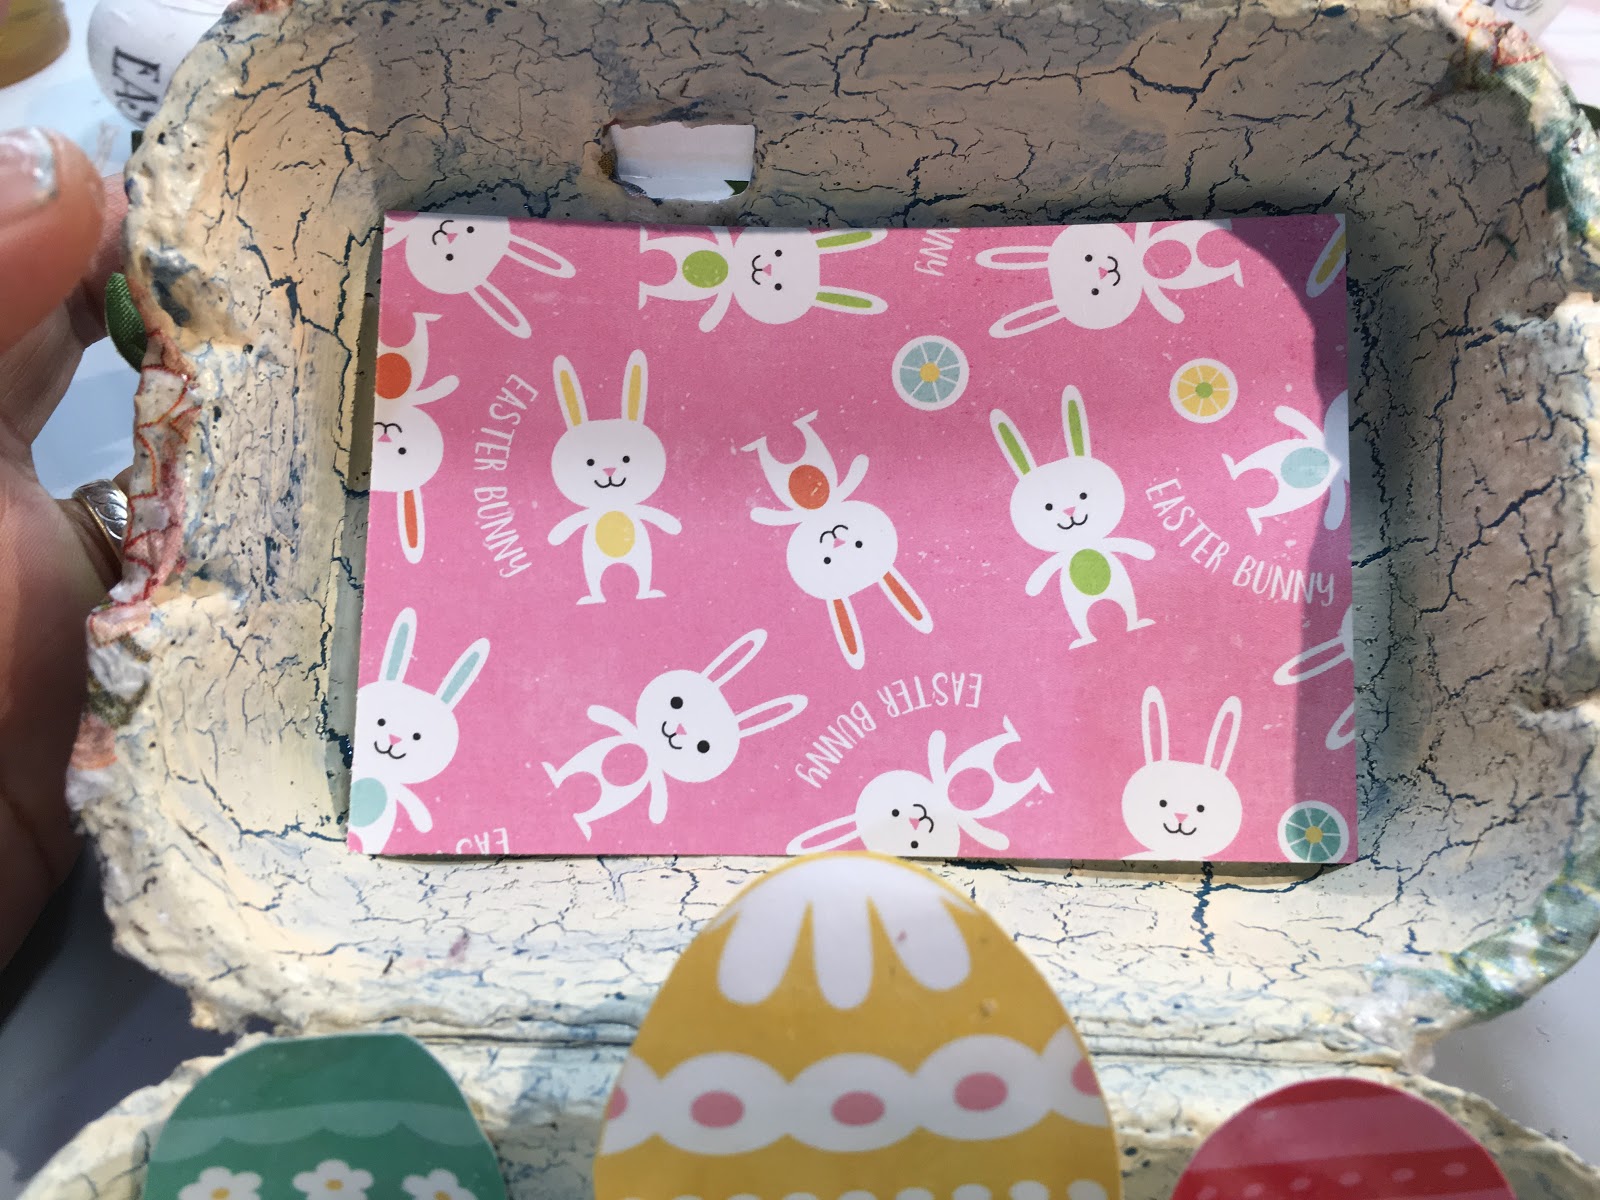
After all this fancy decorating on the outside and the inside of the egg carton, I felt the inner lid was lacking. I struggled as to which of the papers to use but ultimately decided on this adorable one with bunnies. The Easter Bunny does after all bring the eggs right ?
I wrapped more of the leaf ribbon along the inside.
Added tulle and more shreddings...

Hmmmmm still wasn't pleased with it!
I thought of what a REAL bird's next looked like?
Those things are jam packed with anything and everything!
I needed to add more.
So I did!
I added lace, feathers ...

... and flowers :)

Add on our eggs and a few of the chocolate-ey variety...

And here is my decorated egg carton :)

Hoppy Easter everyone :)
If you want to watch the whole process of how I made this, find the tutorial here.
Until next time, hoppy crafting ;)
xxAmira
Comments
Post a Comment