Hello Crafty friends,
I am officially in the Christmas spirit with these GORGEOUS papers by Bo Bunny!

Pink Christmas?
Yes please!
Today I am making laminated mini paper Doris!!

It all started when I was admiring the 3x4 journaling card sheet.

I left 2 journaling cards together (6"x4") and scored them down the middle (at 3") to create a booklet cover.

Next, I cut regular copy paper down to 5 3/4" x 4" and I added approx 10 sheets into each booklet.
To bind, I used a long arm stapler but you could always pamphlet stitch bind if you like.

You will need 4 of these booklets for our dori.

Next, you will need to select the pattern paper of your choice to be the cover of your dori.
I went with the holly paper.
It just seemed right.

I cut this paper down to 8 1/4 " W x 4 1/2"H.
Score at 3 7/8" , 4 1/8" and 4 3/8" but DO NOT FOLD / BURNISH along here.
In order to keep my paper dori sturdy, I decided to laminate it.
I use the Lowell brand laminator from Office-works

I buy the A4 laminating pouches from there too.
Once laminated, you are ready to bind.
Watch the video to see how I did this.
I use hat elastic by Korbond which I found at Coles and Farmer Jacks here in WA.

I got my binding method from Bona's video which can be found HERE
Watch my video to see where I punched the holes along the score lines.
You end up with 4 elastics on the inside which look like this.

This is by far the BEST method which I have found and I am sticking to this formation from now on.
The outside looks very neat and it can hold lots of booklets.
Also watch the video to see how I attached the closure from the spine.
To poke the hole I used a Tim Holtz pokey tool (which releases die-cuts- but you can use an awl if you have one).
Next all you have to do is insert your booklets.

And your beautiful laminated mini paper dori is ready!

Once you have made this mini size, you will probably want to make some larger sizes.
Here are some sizes I ended up making
4 1/2 W"x 6" H
 |
| Dori on right is finished with elastics and booklets so it looks fuller than the laminated cover on the left. |
Cut your cover to 10" x 6"- score @ 4.5", 5" and 5.5 "
Cut your booklet covers to : 8 1/2" x 5 1/2" (Score at half@ 4 1/4")
Cut your booklet papers to : 8" x 5 1/2" H (score at half @ 4")
4 1/2" W x 8 1/4" H
This size came about due to the Xmas papers I had and I could not bring myself to cut them down any shorter and thereby losing the beautiful pattern of the paper.

Cut your cover to 10" W x 8 1/4" H- score @ 4.5", 5" and 5.5 "
Cut your booklet covers to : 8 1/4" W x 7 1/4" H (Score at half@ 4 1/8")
Cut your booklet papers to : 8" W x 7 1/4" H (score at half @ 4")
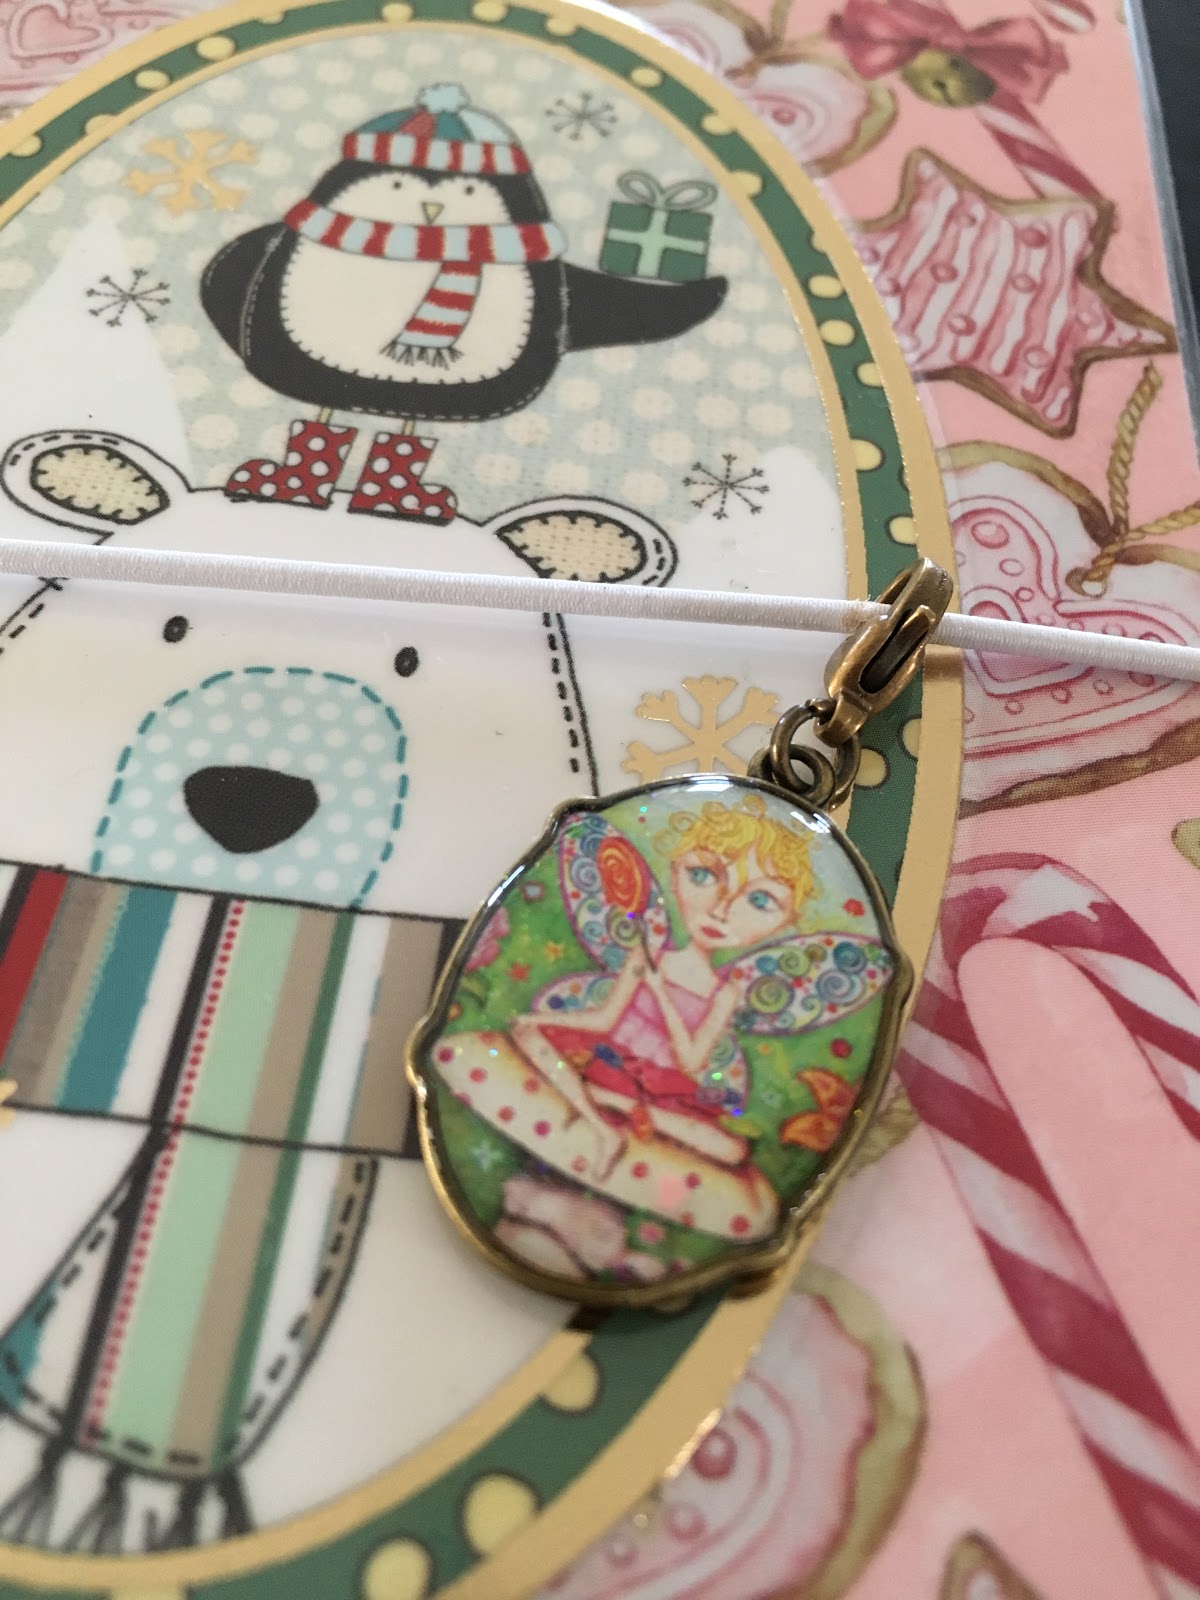
Don't forget to add a gorgeous charm for some extra embellishment
Here are some more stranger sizes

The mini dori on the right : 4 1/8" W x 4 1/2" H
The wide midi dori in the middle: 5 1/2" W x 7 1/4" H
The large narrow Dori : 4 1/2" W x 8 1/4" H
There are SO MANY sizes you could try

Watch my tutorial video here.
Thank you so much for stopping by and I would love to know if you have made one of these before or if you plan on making one soon.
Happy crafting.
xxAmira
Comments
Post a Comment